All Categories
Featured
Table of Contents
- – Rv Solar Panel Installation Garden Grove, CA
- – OCRV Center
- – Motorhome Repair Shops Garden Grove, CA
- – Rv Repair Places Near Me Garden Grove, CA
- – Camper Ac Repair Near Me Garden Grove, CA
- – Rv Mechanics Near Me Garden Grove, CA
- – Rv Solar Installation Garden Grove, CA
- – Rv Generator Repair Garden Grove, CA
- – Rv Refrigerator Repair Near Me Garden Grove, CA
- – Rv Repair Services Near Me Garden Grove, CA
- – Camper Ac Repair Near Me Garden Grove, CA
- – Full Service Rv Repair Near Me Garden Grove, CA
- – OCRV Center
Rv Solar Panel Installation Garden Grove, CA
I had actually one end appeared like your own. While we were at the rally in Copake, the Dometic representative was there and after having a look, advised using a boring challenge push the the side back in. I had an item of dowel rod that fit into the network and utilized that.
There is a screw in photo number 3 that needs to be gotten rid of prior to working with that end - Rv Service And Repair Near Me Garden Grove. I discovered it simpler to extend out the loosened component of the awning and wedge the actual end of the poly cord, that hard white line, right into the channel and it will hold it in position, freeing a hand, till you can take your "press things" and a hammer and begin touching the cable and afterwards awning/cord combo back in the network
Motorhome Repair Shops Garden Grove, CA
As soon as you have the awning back in the network, change the screw, making sure it either undergoes the poly cable or in front of the cord to pin it against the train. If there is no screw on the other end, you require to put one in.
Hi all, We have a small tear in our plastic awning, AE, what is the most effective repair tape for plastic awnings? Reviews on Amazon are a variety.
Rv Repair Places Near Me Garden Grove, CA
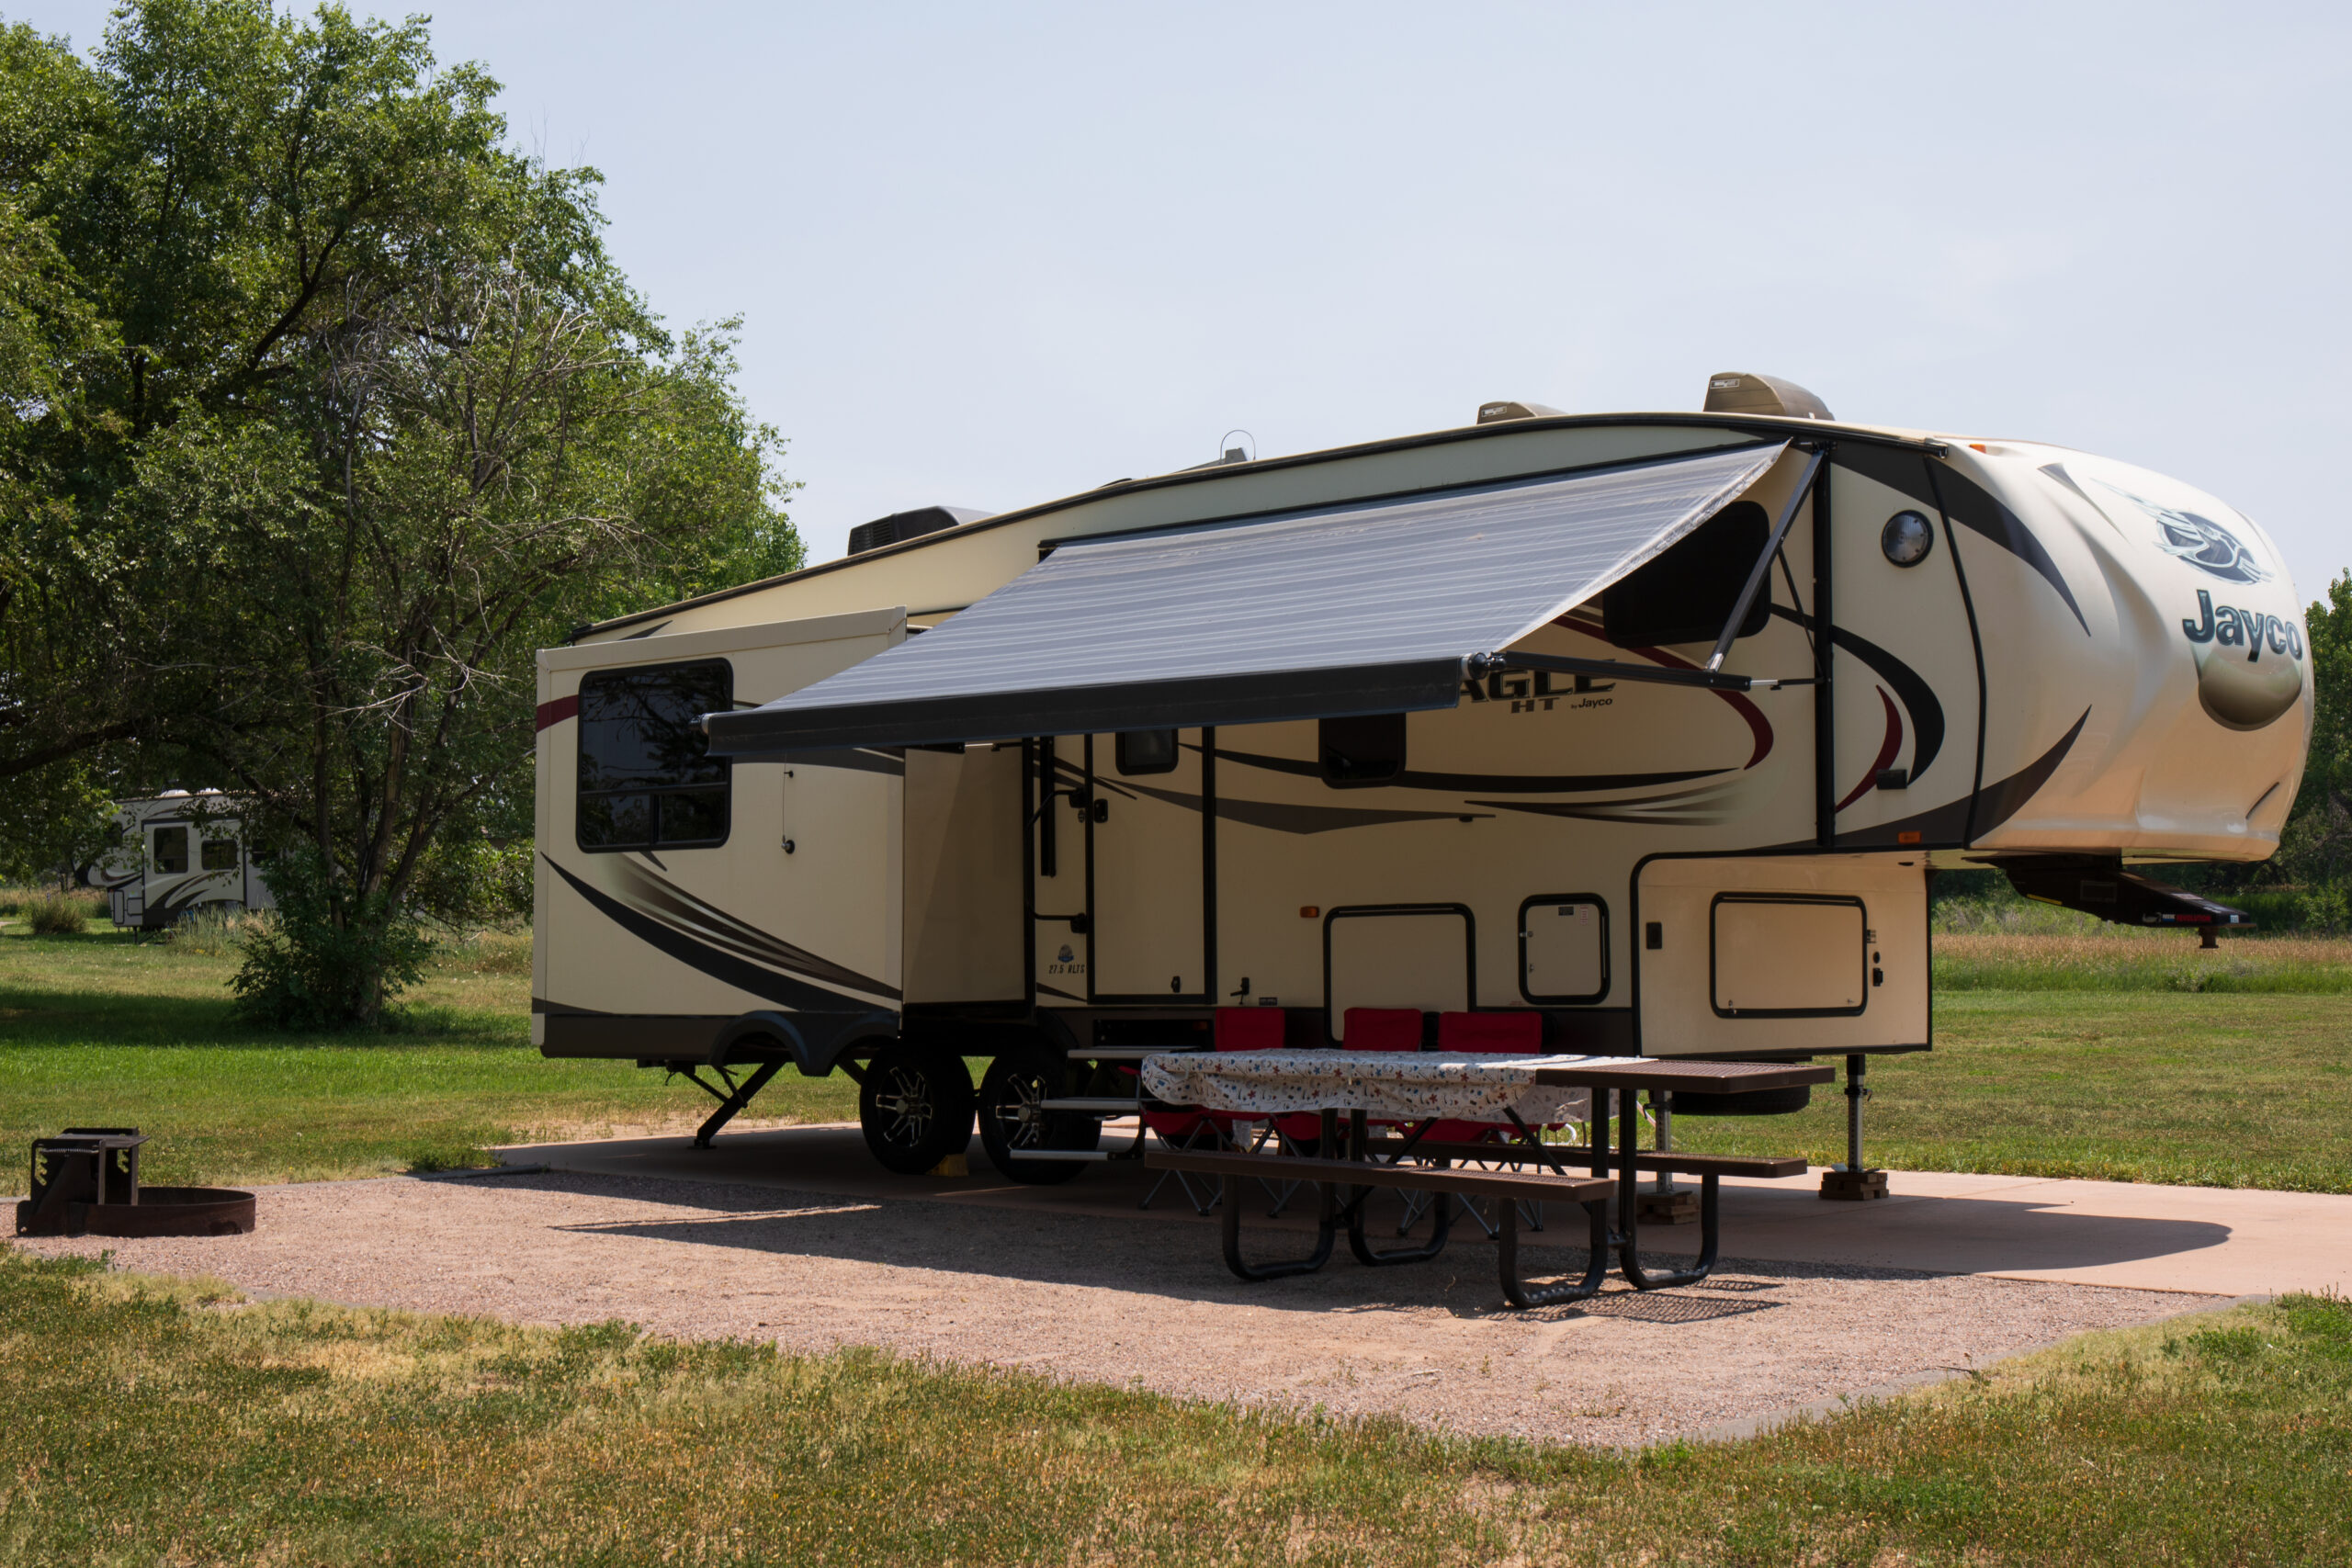
And for recreational vehicle vacationers that thrive on meeting brand-new people in new areas, an awning is among the easiest and most effective symbols of kindness and camaraderie. What takes place when your Recreational vehicle awning needs a little TLC? Awnings, like recreational vehicle engines, frequently wear down in time. They are executed numerous of the harshest components and weather condition types, not to discuss constant usage, which alone can cause breakdowns and splits to the textile.
Some typical features you'll find when managing awning repair service consist of: This is, without a doubt, one of the most regular problem of a damaged motor home awning. And fortunately, it is likewise one of the easiest problems to repair. Despite use (although older awnings will normally experience a greater quantity of damage), damage to material awnings can take place at any moment, under any condition.
Depending upon the size of the hole or hole, motor home proprietors have alternatives. Tiny tears can be fixed right away, generally with repair service tape. Bigger damages places may require total substitute. Like any mechanical attribute of your recreational vehicle, after time, the awning arms, and/or the mechanisms that relocate the arms into place, will certainly cease to operate correctly.
If you've got an electric awning that unravels at journalism of a switch, and it simply makes a decision to quit working eventually, you might have something extra serious on your hands than a dead remote battery. A break in the circuitry, a negative button, or a bad awning electric motor might be the wrongdoer.
Camper Ac Repair Near Me Garden Grove, CA
These products are readily available from on-line merchants, and just about every regional equipment store. Once again, relying on the dimension of the damages, awning fixing tape can be more than a momentary solution however a long-term, irreversible service. Many types of repair tape are clear in color and strengthened to shield vinyl, canvas, and other types of resilient material, giving a water resistant seal that takes place clear, so you don't even notice it.
Or you can choose up a camping tent fixing package: these usually consist of solid glue patches that stick to a variety of various fabrics. Around the same cost as repair work tape, outdoor tents repair service sets are also readily available at equipment or outdoor camping stores. For splits and tears larger than normal, you'll desire to consider something more large than a regular spot job.

In some cases, it's not simply the awning material that needs repairing. You may locate on your own looking to replace broken or missing components to guarantee that your awning stays in functioning order. If that's the instance, there are some typical little bits to be mindful of: Handle Insurance adjuster: this mechanism, typically located on the arm, allows you to readjust the tension on the awning product.
Rv Mechanics Near Me Garden Grove, CA
Do you have a website we can most likely to to find out more?.
I think it's right at the edge that is still revealing when the awning is rolled up. One more alternative could be if you can find an upholstery or canvas shop eager to do it, you can probably take the fabric off (google for instructions) and have them reduce off the damaged part and resew the "bead" (really called "Keder welt") back on to it.
We have a 78' coach and think that the awning is as old as the coach. Just the other day I was evaluating it and located both major panels that are stitched with each other in the facility, have the stitching splitting up. I do not wish to take the awning down for repair.
2017 Coachmen Leprechaun Course C MH with a fundamental mechanical awning - gust of wind obtained it and drew the top places loose. Did not come right off yet the mounting screws were taken out regarding 3/4 of the way. As a temporary repair I had the ability to screw the screws back in and they obtained rather tight, didn't desire to go too for and strip them out any kind of worse.
Rv Solar Installation Garden Grove, CA
You've drawn right into a prime outdoor camping area in your precious RV and are looking onward to spending some peaceful time in the wilderness. Your area is sunny and brilliant and ideal. Only one problemyour RV awning isn't functioning. However don't despair! We're going to consider the various methods your power awning might malfunction and just how to find out where the problems are.
If you're brand-new to recreational vehicle life you might be wondering exactly how your awning could malfunction. There are 3 primary sources of awning issues: Power interruptions Motor failure Mechanical failures Let's troubleshoot all three (for awning fabric fixing, take a look at this write-up) But first, a few suggestions. We're discussing power awnings today, and that means electric motors and electrical power.
Rv Generator Repair Garden Grove, CA
It's easier to have an awning stuck closed than to have it stuck open. You're totally free to drive your lorry to the closest RV service center as soon as possible. You can not drive your recreational vehicle with the awning open also a little bit. Because mechanized awnings do wear and have various other concerns, find out exactly how to operate them manually prior to you take your very first RV journey.
Sometimes you simply journey a breaker or blow a fuse. If you hear no sound in any way when you attempt to prolong the awning, this is an usual culprit. These fast and easy and do not need any type of specific know-how. If you aren't acquainted with the fuse panel, take an appearance in your proprietor's guidebook for a guide.
Inspect your Motor home batteries. If your awning is one of the first points you utilize, its failure may be the indicator of a reduced battery or a malfunctioning converter.
Rv Refrigerator Repair Near Me Garden Grove, CA
This is where new users, unknown with Motor home electric systems, must speak with a specialist. A malfunctioning awning is not worth an electric fire or an injury.
Given that your awning won't extend, you'll require to open it a bit by hand. Exactly how you access your awning electric motor will certainly vary depending on your vehicle. Do your research prior to you jump on the ladder. You'll need to open up the awning much sufficient to access the electrical wiring. On many coaches, you'll have the ability to open up the awning just by turning the open/close screw with a drill and outlet.
You'll find them in the trough running down the side of your motorhome or traveling trailer from the electric motor. Transform off the power before you detach the wires from the automobile from the cords for the awning.
Next, take a great long take a look at the awning cables. Look for fractured insulation and any kind of various other indications of wear or fraying. If you see any kind of external indicator of damage, it's time to see a specialist for replacement cords. If everything looks undamaged, connect the awning cables to a mobile battery.
Rv Repair Services Near Me Garden Grove, CA
If the awning does not work, the trouble remains in the electrical wiring in the awning arms or with the switch or electric motor. Head up to the electric motor and find the electric motor wiring quick-connect. Test with your volt meter when the switch is dispirited. If you get +/- 12 volts from the button, the electrical wiring is not the problem.
Prior to removing your defective motor, take the time to lash down the awning arms on both sides. When the old electric motor is removed and disengaged from the gearing, the awning arms will certainly extend out quickly.
The majority of proprietors should have a specialist do electrical wiring repair work and substitute. Currently it's time to attach the motor straight to a portable battery.
Camper Ac Repair Near Me Garden Grove, CA
Do refrain this unless you have experience with electric systems. If the motor does not react, it likely demands to be replaced. You can replace an awning electric motor yourself, however the majority of you need to take the lorry to a motor home repair store. This is a do it yourself task just for seasoned motor home fixer-uppers.
The mechanical components of your motor home awning are equally as vulnerable to put on as the circuitry and electric motor. No matter just how well an awning is developed, use, time, and exposure to the components will certainly make repair work and replacement components needed. If you're a RV repair DIY fanatic, have a look at our Leisure Coachworks Components Store for hardware, cords, illumination, locks, electrical materials, and a lot more.
Is your head rotating from all that information? We have actually claimed it before, however it bears repeating: A motorhome or travel trailer is a challenging piece of machinery. Combining components of a home and an automobile brings about a great deal of relocating parts. For a few of you, this is a fun obstacle and you enjoy finding out about every system.
It's smart to have a strategy for what you'll do if they won't function, appear bad, or simply wear. Contact us today at Recreation Coachworks and we'll help you produce a routine upkeep timetable to lower the opportunity of any type of breakdowns when you're out living your best motor home life.
Full Service Rv Repair Near Me Garden Grove, CA
On a recreational vehicle, consistent exposure results in harmed plastic components and trim and can create chaos on rolled up awnings that are not shielded from the sun - Rv Service And Repair Near Me Garden Grove. Typically the top of the rolled awning shreds, rendering the material unsightly at best and unsafe to roll out at worst. As long as the hardware is intact, there's no reason to replace the whole awning just since the fabric is worn-out
OCRV Center
Address: 23281 La Palma Ave Yorba Linda, CA 92887Phone: (714) 909-1444
Email: [email protected]
OCRV Center
1) Eliminate screws that run via the awning rail into the material. 3) Move the entire awning assembly out of either end of the awning rail.
Motorhome Generator Repair Near Me Garden Grove, CAMotorhome Service And Repair Near Me Garden Grove, CA
Rv Repair Centers Near Me Garden Grove, CA
Motorhome Service And Repair Near Me Garden Grove, CA
Rv Repairs Near Me Garden Grove, CA
Rv Repair And Service Near Me Garden Grove, CA
Motorhome Refrigerator Repair Garden Grove, CA
Best Rv Repair Near Me Garden Grove, CA
Full Service Rv Repair Near Me Garden Grove, CA
Rv Repair And Service Near Me Garden Grove, CA
Rv Plumbing Repair Near Me Garden Grove, CA
Rv Refrigerator Repair Near Me Garden Grove, CA
Rv Repair And Service Near Me Garden Grove, CA
Full Service Rv Repair Near Me Garden Grove, CA
Motorhome Repair Near Me Garden Grove, CA
Rv Repair Centers Near Me Garden Grove, CA
Motorhome Repair Near Me Garden Grove, CA
Rv Plumbing Repair Near Me Garden Grove, CA
Full Service Rv Repair Near Me Garden Grove, CA
Rv Repair And Service Near Me Garden Grove, CA
Rv Solar Panel Installation Garden Grove, CA
Rv Ceiling Repair Garden Grove, CA
Rv Solar Installation Garden Grove, CA
Rv Repair Centers Near Me Garden Grove, CA
Rv Repairs Near Me Garden Grove, CA
Rv Plumbing Repair Near Me Garden Grove, CA
Motorhome Repair Shops Garden Grove, CA
Motorhome Generator Repair Near Me Garden Grove, CA
Motorhome Repair Shop Garden Grove, CA
Full Service Rv Repair Near Me Garden Grove, CA
Rv Mechanics Near Me Garden Grove, CA
Rv Repair Services Near Me Garden Grove, CA
Rv Service Repair Near Me Garden Grove, CA
Rv Service Repair Near Me Garden Grove, CA
Rv Service And Repair Near Me Garden Grove, CA
Motorhome Repair Shop Garden Grove, CA
Rv Repair Places Near Me Garden Grove, CA
Rv Plumbing Repair Near Me Garden Grove, CA
Rv Repair Shops Near My Location Garden Grove, CA
Rv Service And Repair Near Me Garden Grove, CA
Rv Repair Services Near Me Garden Grove, CA
Rv Ceiling Repair Garden Grove, CA
Motorhome Generator Repair Near Me Garden Grove, CA
Rv Repair Services Near Me Garden Grove, CA
Rv Repair Shops Near My Location Garden Grove, CA
Rv Floor Repair Near Me Garden Grove, CA
Rv Repair Centers Near Me Garden Grove, CA
Motorhome Refrigerator Repair Garden Grove, CA
Motorhome Awning Repair Garden Grove, CA
Motorhome Repair Near Me Garden Grove, CA
Rv Mechanics Near Me Garden Grove, CA
Rv Ceiling Repair Garden Grove, CA
Rv Plumbing Repair Near Me Garden Grove, CA
Rv Repair And Service Near Me Garden Grove, CA
Motorhome Repair Service Garden Grove, CA
Full Service Rv Repair Near Me Garden Grove, CA
Rv Mechanics Near Me Garden Grove, CA
Rv Repairs Near Me Garden Grove, CA
Rv Repair Shops Near My Location Garden Grove, CA
Motorhome Repair Near Me Garden Grove, CA
Rv Solar Panel Installation Garden Grove, CA
Motorhome Repair Near Me Garden Grove, CA
Rv Repair In My Area Garden Grove, CA
Rv Service And Repair Near Me Garden Grove, CA
Camper Ac Repair Near Me Garden Grove, CA
Motorhome Repair Shops Garden Grove, CA
Motorhome Service And Repair Near Me Garden Grove, CA
Full Service Rv Repair Near Me Garden Grove, CA
Motorhome Refrigerator Repair Garden Grove, CA
Rv Solar Installation Garden Grove, CA
Motorhome Repair Shops Garden Grove, CA
Rv Mechanics Near Me Garden Grove, CA
Camper Ac Repair Near Me Garden Grove, CA
Motorhome Generator Repair Near Me Garden Grove, CA
Rv Delamination Repair Near Me Garden Grove, CA
Rv Floor Repair Near Me Garden Grove, CA
Rv Refrigerator Repair Near Me Garden Grove, CA
Motorhome Generator Repair Near Me Garden Grove, CA
Finding A Good Local Seo Company Near Me Garden Grove, CA
Close To Me Seo Companies Near Me Garden Grove, CA
OCRV Center
Table of Contents
- – Rv Solar Panel Installation Garden Grove, CA
- – OCRV Center
- – Motorhome Repair Shops Garden Grove, CA
- – Rv Repair Places Near Me Garden Grove, CA
- – Camper Ac Repair Near Me Garden Grove, CA
- – Rv Mechanics Near Me Garden Grove, CA
- – Rv Solar Installation Garden Grove, CA
- – Rv Generator Repair Garden Grove, CA
- – Rv Refrigerator Repair Near Me Garden Grove, CA
- – Rv Repair Services Near Me Garden Grove, CA
- – Camper Ac Repair Near Me Garden Grove, CA
- – Full Service Rv Repair Near Me Garden Grove, CA
- – OCRV Center
Latest Posts
Web Designer San Dimas
Web Design Companies Near Me San Bernardino County
Top Local Seo Company Brea
More
Latest Posts
Web Designer San Dimas
Web Design Companies Near Me San Bernardino County
Top Local Seo Company Brea